


TABLE OF CONTENTS
Create a Form
The Minos Form block is only compatible with a plugin called Gravity Forms (opens a new window), meaning the integration is optimized to work with the block and take the theme's visual editor settings into account. This plugin is not included with the theme and requires a separate license.
Concretely:
- the Minos Form block lists the forms created via Gravity Forms,
- forms can be styled directly in the visual editor, with colors, typography…,
- you get full visual consistency with the rest of your site,
- and the integration is seamless: optimal compatibility with Minos blocks and layouts.
It is possible to use other form plugins via a shortcode, however their visual integration is not guaranteed and will require manual adjustments on your part (custom CSS). This shortcode can then be added in the Minos Shortcode block or the Editor block.
This wonderful and powerful plugin has its own User Guide (in English) that we recommend you consult before embarking on your adventure, in order to manage your forms as effectively as possible.
Here is some information to help you get started with the tool.
Edit a form
To add or create a form, take the following steps :
- Visit your dashboard
- Click on ”Forms” on the left side
- This is the dashboard of Gravity Forms. All created forms will be listed here.
You can find information regarding each of them
- Status - Active (green token verte) or inactive (gray token)
- Title
- ID number
- Entries (= full filled forms)
- Views (= how many time it has been seen on the page)
- Conversion rate (= the number of entries compared to the number of views)
To create a new form, follow these steps:
1- Click on Add New (on top-left side)

2- You can start from a blank form (you have no field at all) or from templates (some fields are already added)

3- Give a title to your form, a description (optional) and click on the “create “button

An accessible title for everyone It's not just a reference for you in the back office: it's read directly by screen readers to identify the form on the page. It's the only way for a visually impaired person to know which form they're in.
- Avoid abbreviations and internal jargon
- Avoid test or placeholder titles ("Test form", "Untitled", "Form 1"...)
- Use a clear, complete title, as if it were displayed to visitors — for example "Contact form" rather than "Contact" or "CF"
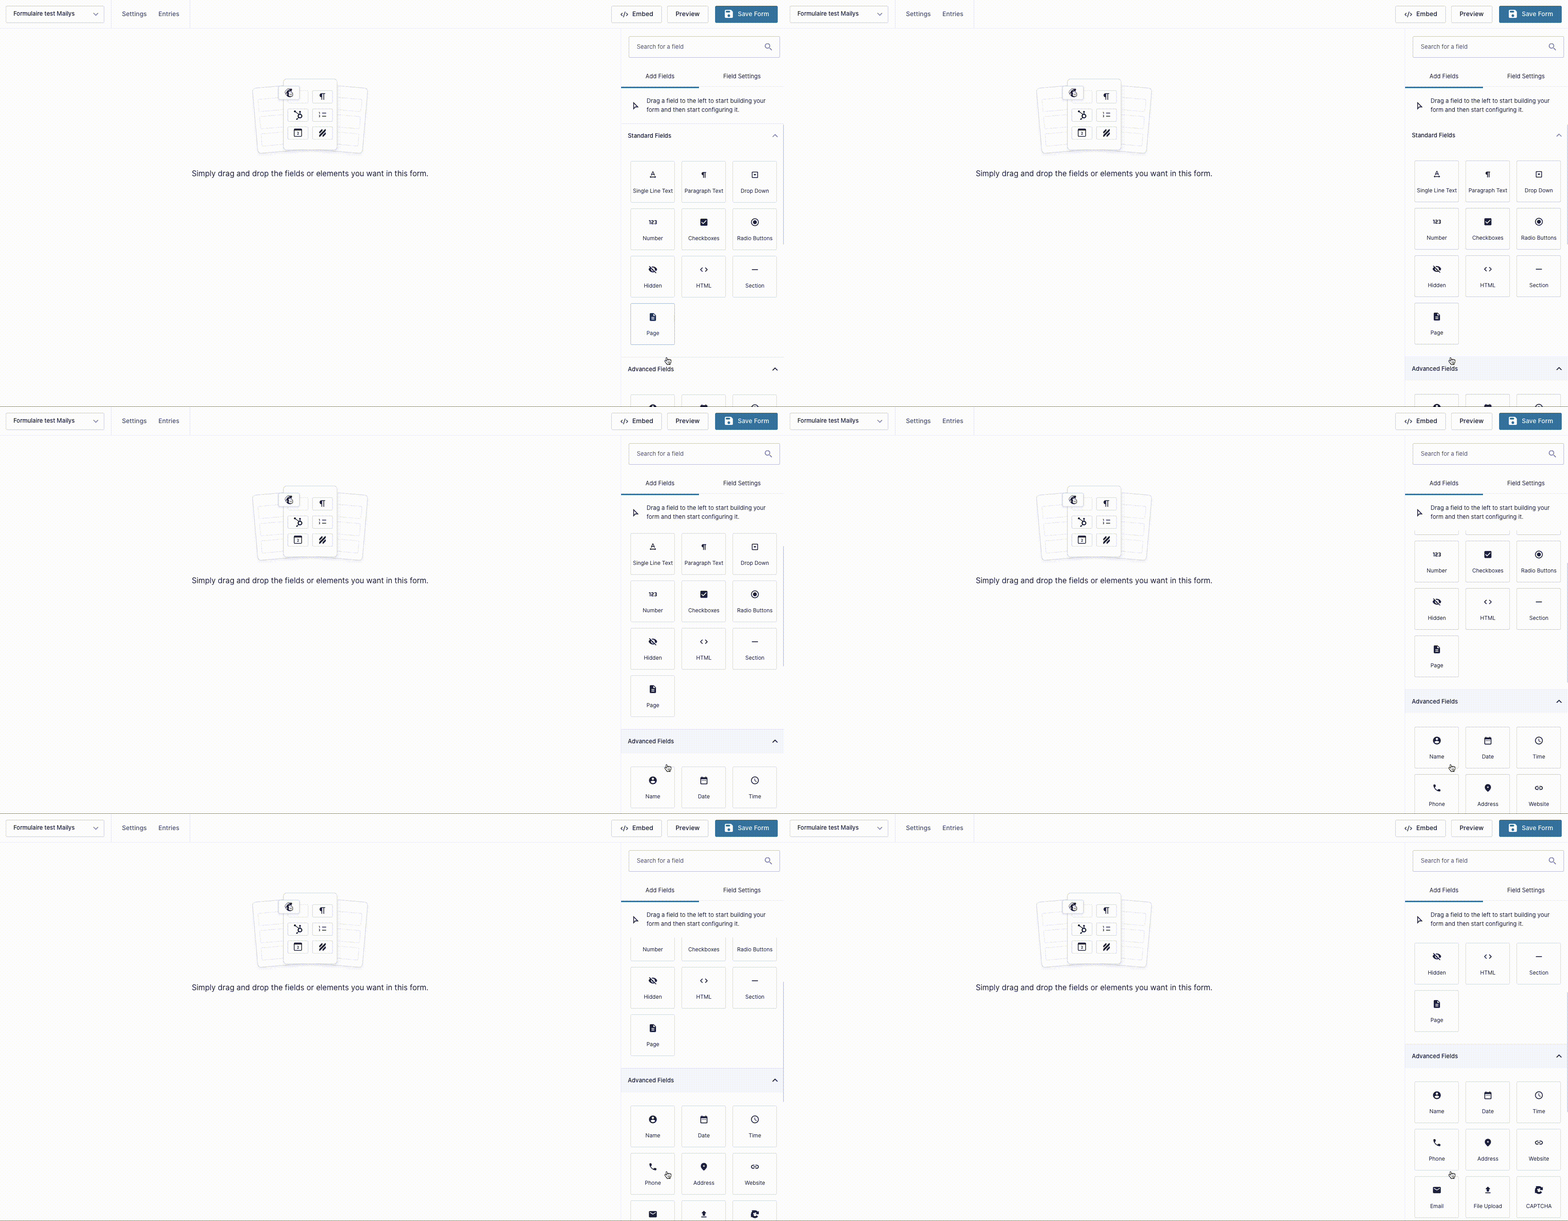
You are now in the form editor!
- In the main section: the future form
- On the right: the multiple fields you can use (standard, more advanced, pricing fields, etc.)
Simply click on a field or drag and drop it to display it in the main section. Each field is presented with a description of its function, so you can choose exactly the one you need.
Build the form you want, then configure each field (required, title, description, possible options, response field size, number of characters, supported files, etc.).
Save your form to finish!
To insert a form into a page, simply use the Form block. Inside, a drop-down list allows you to choose the desired form.
Form Settings
Beyond the form, a number of settings are available: you will find them in “Settings” at the top left.

Settings
These are the general settings:
- form title
- description
- layout
- button
- appearance of the “required” label
- where to place field descriptions
- allow “save and continue”
- honeypot
- etc.
Confirmations
This is everything that can happen once the person has clicked on “send” at the end of the form.
Will they simply get a message saying “Thank you for contacting us, we will get back to you shortly”?
Will you choose to take them to a new page to offer them more services? Will it be a page on your site, or a link to an external platform?
All of this can be chosen, configured, and styled in the “Confirmations” tab. You can configure several of them.
Notifications
Who should be notified when a form has been completed? What information should be sent? This is where you configure these settings.
You can create as many notifications as you like, for example:
- send a copy of the form to your organization's general email address
- send a copy of a specific form to the person in charge of these registrations
- send a copy of the form that has just been completed to the person who completed it
- etc.
Personal data
This section should be considered in parallel with your privacy policy. How long will you keep the data? What types of data?
Miscellaneous
In addition to these permanent settings, a large number of Gravity add-ons allow you to link your forms to your other third-party tools. For example:
- MailChimp, Send In Blue, or Active Campaign, so that anyone who enters their email address to subscribe to your newsletter is automatically added to your mailing list in that tool
- Notion, HubSpot, etc., to feed your CRM
- Stripe, PayPal, etc.
- ... (the list is long and the possibilities are endless!)
Entries
To the right of the “Settings” menu, you will find the “Entries” tab. A form entry is a completed and submitted form.
All responses to your form are listed here. You can view the details of all responses given by a person by clicking on an entry.
Import/Export
One last important feature can be found in the left-hand menu: importing and exporting data.
For each form, you can export one, two, or all fields, choose a time period, etc. Exporting gives you a .csv file (to be opened in Excel or similar software).
You can also export or import forms (.json format).